How to Unstick Battery Laser Pointer With Black And Gray – Complete Step-by-Step Fix
Introduction to Stuck Laser Pointer Batteries
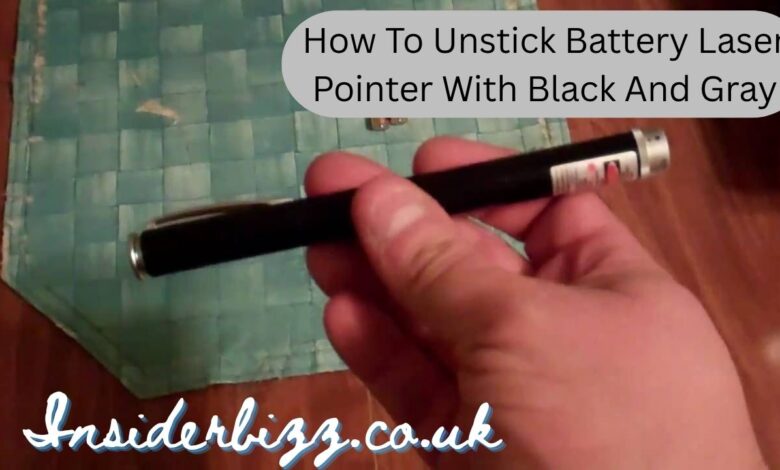
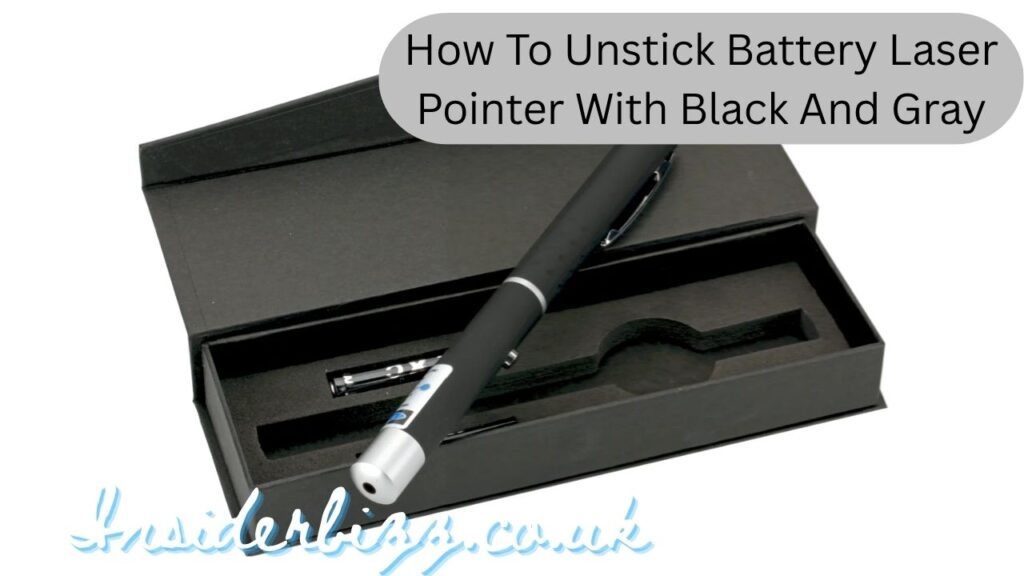
If you’re struggling with how to unstick battery laser pointer with black and gray, you’re not alone. Laser pointers, especially compact or metal-bodied ones, often experience battery corrosion or jamming due to extended use or improper storage.
The problem usually occurs when batteries leak or expand inside the barrel, causing them to get stuck. This guide explains safe, effective, and damage-free methods to unstick and restore your laser pointer — whether it’s a black aluminum model or a gray steel-cased device.
Why Batteries Get Stuck in Laser Pointers
The main reason batteries get stuck in black and gray laser pointers is due to corrosion caused by battery leakage. Over time, chemical residue hardens, bonding the battery to the metal walls of the compartment.
Another common reason is physical swelling from heat or age. When alkaline or lithium batteries expand, they wedge tightly inside the laser’s narrow casing, making removal difficult without proper tools or technique.
Identifying the Type of Laser Pointer
Before attempting to unstick the battery, it’s important to identify your laser pointer type. Models with black or gray metal casings are typically made of anodized aluminum or stainless steel — durable, but prone to internal oxidation if exposed to leaking batteries.
Knowing your device’s build material will help determine whether you can safely use solvents or mechanical tools during the battery removal process.
Safety Precautions Before Attempting Removal
Safety comes first. Always ensure that your laser pointer is switched off and that you are not pointing it toward your eyes or reflective surfaces.
Wear gloves when handling leaked batteries, as alkaline residue can irritate skin. Work in a well-ventilated area and avoid using open flames or heat sources during removal.
Tools You’ll Need to Unstick the Battery
To unstick your laser pointer’s battery safely, gather the following tools:
– A pair of non-metal tweezers or rubber-coated pliers
– Cotton swabs and white vinegar
– A wooden dowel or pencil (for gentle tapping)
– A small flashlight for visibility
These tools will help you loosen corrosion, push out the battery, and clean the inner casing without scratching or bending your device.
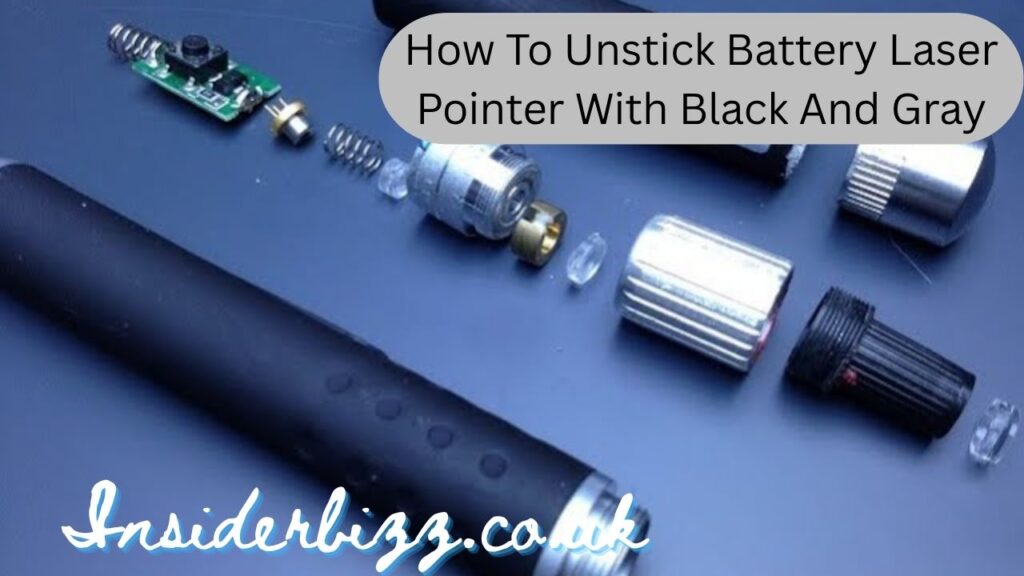
Step 1 – Inspect the Battery Compartment
Start by carefully unscrewing the end cap of your black or gray laser pointer. Use a flashlight to check for corrosion, discoloration, or battery swelling inside.
If the battery compartment appears white, crusty, or oxidized, this indicates leakage. Avoid forcing the battery out immediately, as that could damage the contact springs or interior lining.
Step 2 – Loosen the Battery with Gentle Taps
Hold the laser pointer vertically with the open end facing downward. Gently tap the barrel against the palm of your hand or a soft cloth surface.
This helps to dislodge lightly stuck batteries. Avoid hitting hard surfaces, as this can deform the outer shell or misalign internal contacts.
Step 3 – Apply White Vinegar or Isopropyl Alcohol
If gentle tapping doesn’t work, dip a cotton swab in white vinegar or isopropyl alcohol and carefully apply it around the edges of the stuck battery.
The mild acidity of vinegar helps dissolve alkaline corrosion, while alcohol removes moisture and residue. Allow it to sit for 10–15 minutes before attempting to remove the battery again.
Step 4 – Use a Wooden Dowel to Push the Battery Out
Insert a small wooden dowel or pencil from the laser’s opposite end (if the design allows). Gently push the battery toward the open side.
Avoid metal tools like screwdrivers, as they can short the circuit or puncture the battery casing. The wood provides firm but safe pressure to free the stuck cell.
Step 5 – Removing Corroded Batteries Safely
Once the battery loosens, carefully pull it out with rubber-coated pliers or tweezers. Never use excessive force — a slight twist-and-pull motion usually works best.
Dispose of the old batteries responsibly by taking them to a designated recycling center, as leaking or damaged batteries can be hazardous to the environment.
Step 6 – Cleaning the Battery Chamber
After removing the battery, clean the interior using cotton swabs soaked in vinegar or baking soda solution (for neutralizing acid).
Wipe the inner wall thoroughly and ensure no residue remains. This step prevents future corrosion and restores the conductivity of your black and gray laser pointer.
Step 7 – Drying and Reassembling the Laser Pointer
Allow the battery chamber to dry completely before inserting new batteries. You can use a hair dryer on a cool setting to speed up the drying process.
Preventing Battery Jams in the Future
To prevent your laser pointer batteries from sticking again, remove them when not in use for long periods. Always store the pointer in a cool, dry place away from heat and humidity.
Additionally, use reputable battery brands and replace them regularly to reduce the risk of corrosion and expansion.
When to Seek Professional Help
If your black and gray laser pointer still doesn’t release the battery after these steps, it may require professional assistance.
Attempting to force out a severely corroded battery could damage the internal components. Contact an electronics repair specialist who can safely dismantle and restore the device.
Common Mistakes to Avoid
Avoid prying batteries out with metal objects — this can puncture the casing and cause leakage or short-circuiting.
Do not apply excessive heat, as laser pointers contain sensitive lenses and circuits that can melt or deform under high temperatures.
Importance of Regular Maintenance
Regular maintenance extends the lifespan of your laser pointer. Cleaning the battery chamber every few months keeps contacts corrosion-free and ensures consistent beam performance.
Periodic inspection also helps detect battery swelling or residue before they cause serious jamming issues.
Conclusion on how to unstick battery laser pointer with black and gray
In conclusion, learning how to unstick battery laser pointer with black and gray is essential for maintaining your device’s functionality and safety. By following the correct steps — from gentle tapping to cleaning with vinegar — you can unjam and restore your laser pointer without damaging it.
With patience, care, and proper maintenance, your black or gray laser pointer will continue performing reliably, whether for presentations, astronomy, or personal projects.