Sanding with a Belt Sander?? Mastering Efficiency, Control, and Technique
Introduction: Why “Sanding with a Belt Sander??” Matters
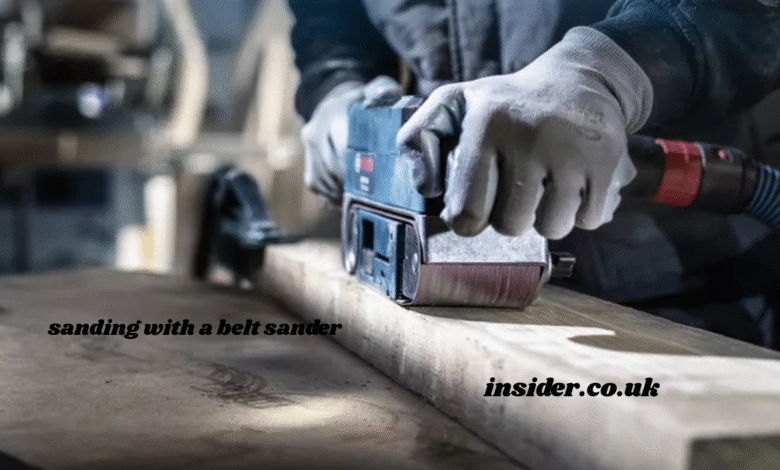
“Sanding with a belt sander” is a fundamental skill for woodworkers, furniture refinishers, and DIY enthusiasts. The power, speed, and aggressiveness of a belt sander make it ideal for leveling surfaces, removing old finishes, and preparing wood for fine sanding. However, many users find themselves asking, “sanding with a belt sander?? Is it that straightforward?” This article explores essential techniques, safety measures, and practical tips to ensure your sanding with a belt sander results in smooth, professional finishes without gouges or swirl marks.
Understanding the Basics: What Is a Belt Sander?
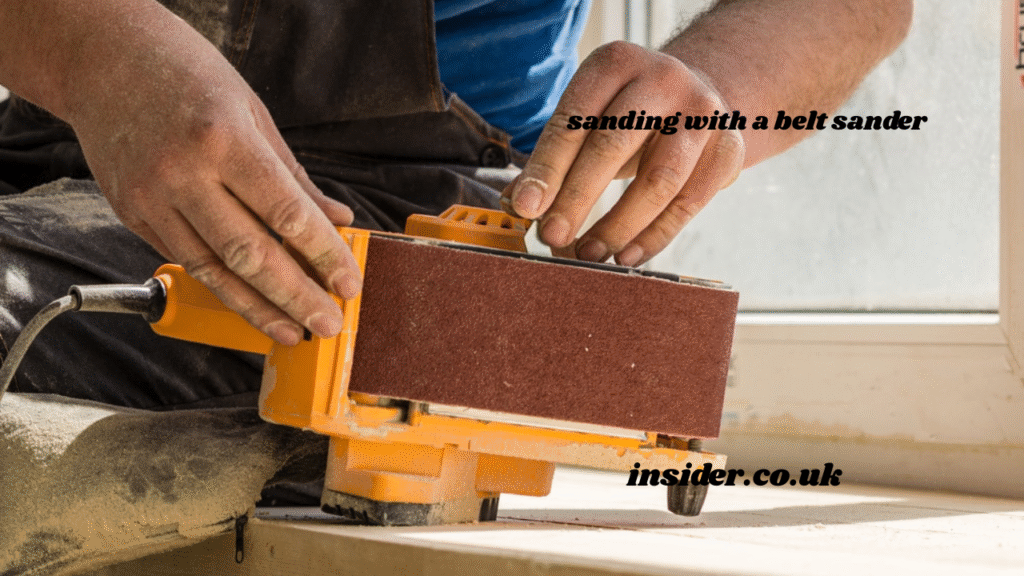
Before diving into “sanding with a belt sander??”, it is crucial to understand what a belt sander is. A belt sander uses a loop of sandpaper stretched over two rotating drums to sand surfaces quickly and evenly. It is typically used for:
- Removing paint or varnish quickly.
- Flattening uneven boards or panels.
- Sanding large, flat surfaces.
The tool’s weight and speed do most of the work, reducing the need for excessive pressure, which is essential when mastering “sanding with a belt sander.”
Preparing for Sanding with a Belt Sander??
Preparation plays a significant role in achieving consistent results when “sanding with a belt sander??”. Here’s what you need to prepare:
- Check your workspace: Clear the area of debris and ensure good ventilation.
- Select the correct grit: Coarse grit (40–60) for heavy removal, medium grit (80–100) for surface leveling, and fine grit (120–150) for finishing passes.
- Inspect the wood: Check for nails or screws that may damage the sander or tear the belt.
This preparation ensures your “sanding with a belt sander” process begins without avoidable obstacles that could damage your project or the tool.
Techniques for Effective Sanding with a Belt Sander??
Effective “sanding with a belt sander??” involves mastering a few essential techniques:
- Start with the sander off the workpiece: Turn it on before contacting the surface to prevent gouging.
- Keep it moving: Never let the sander sit still while running; it can create dips in the surface.
- Move with the grain: Although belt sanders are aggressive, moving with the wood grain minimizes scratch patterns.
- Apply even pressure: Let the weight of the sander do the work rather than forcing it down, which can overload the motor and cause uneven sanding.
- Overlap your passes: This ensures consistent sanding across the entire surface.
Practicing these steps will improve your confidence and results while “sanding with a belt sander.”
Managing Dust During Sanding with a Belt Sander??
Dust management is vital when “sanding with a belt sander??,” as the tool generates significant dust quickly:
- Attach a dust bag or vacuum: Many belt sanders come with dust collection ports that connect to shop vacuums.
- Work in a well-ventilated area: Helps to reduce airborne dust, protecting your lungs and improving visibility.
- Wear a dust mask: Always wear protective equipment while “sanding with a belt sander.”
Dust not only impacts your health but can settle back on the workpiece, potentially damaging your finish later.
Common Mistakes to Avoid When Sanding with a Belt Sander??
While “sanding with a belt sander??” offers speed and power, there are common mistakes to avoid:
- Pressing too hard: Leads to swirl marks, gouges, and uneven finishes.
- Using the wrong grit: Starting too fine wastes time, while starting too coarse can create deep scratches.
- Ignoring the edges: Belt sanders are aggressive, so be cautious to avoid rounding over edges unintentionally.
- Failing to check the belt alignment: Misaligned belts can wear unevenly and damage surfaces.
- Not maintaining the sander: Regularly clean and check your belt sander to keep it in optimal condition.
By avoiding these mistakes, your “sanding with a belt sander” results will become cleaner and more consistent.
Choosing the Right Belt Sander for Your Project
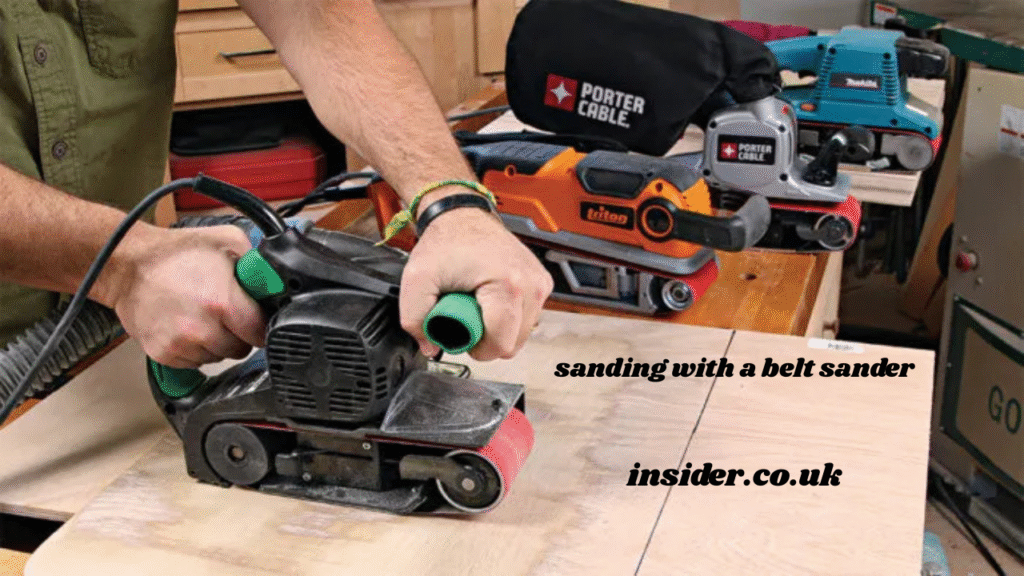
Choosing the right tool is part of mastering “sanding with a belt sander??.” Consider:
- Size of the sander: Larger sanders (3” x 21” or 4” x 24”) cover more area quickly, while smaller models offer greater control.
- Variable speed control: Useful for adjusting aggressiveness depending on the material.
- Ergonomic design: A comfortable grip reduces fatigue during extended use.
Selecting the right belt sander improves control and efficiency in your “sanding with a belt sander” workflow.
Maintaining Your Belt Sander for Long-Term Use
Regular maintenance ensures your tool is ready for “sanding with a belt sander??” when needed:
- Clean the dust collection system regularly.
- Inspect the sanding belt for wear and replace when needed.
- Check the rollers for alignment and debris buildup.
- Lubricate moving parts according to the manufacturer’s instructions.
Maintenance reduces downtime and ensures consistent performance during “sanding with a belt sander.”
Safety Tips for Sanding with a Belt Sander??
“Sanding with a belt sander??” requires safety precautions:
- Wear eye protection, hearing protection, and a dust mask.
- Secure your workpiece firmly to prevent movement.
- Keep hands and loose clothing away from moving parts.
- Turn off and unplug before adjusting or replacing belts.
- Avoid working in cluttered areas to prevent tripping.
These safety measures protect you while allowing you to focus on the quality of your “sanding with a belt sander.”
Advanced Tips for Professional Sanding with a Belt Sander??
Once you master the basics of “sanding with a belt sander??,” you can adopt these advanced tips:
- Feathering edges: Tilt the sander slightly while easing off the wood to blend transitions.
- Using jigs: Build jigs for leveling tabletops or flattening boards uniformly.
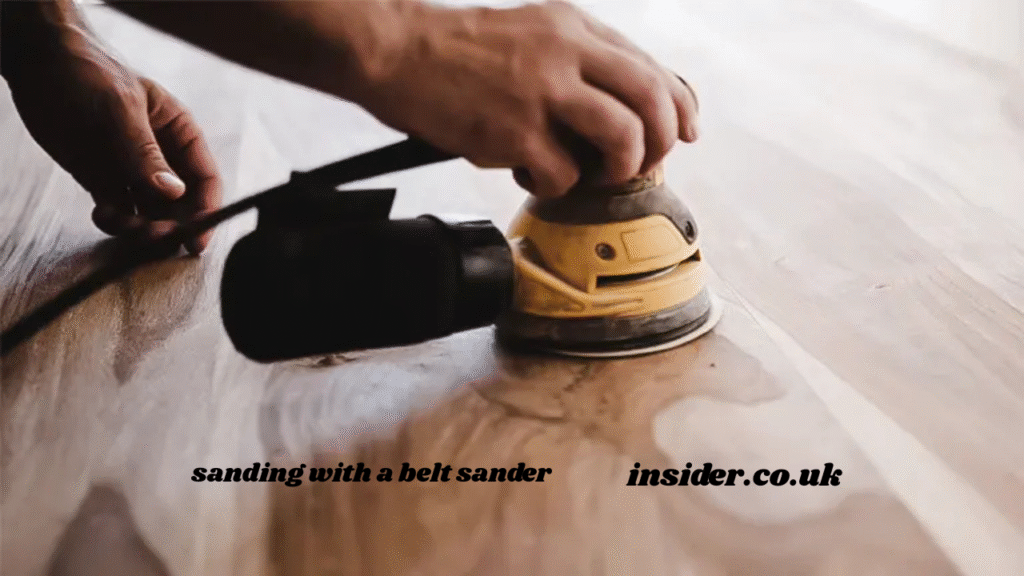
- Combining with other sanders: Follow up belt sanding with orbital or finishing sanders to remove fine scratches.
These advanced techniques elevate your results, allowing you to achieve professional-grade finishes with your “sanding with a belt sander.”
Conclusion: Elevate Your Craft with Sanding with a Belt Sander??
“Sanding with a belt sander??” can transform rough, uneven surfaces into clean, flat, and ready-to-finish boards quickly and efficiently. By understanding your tool, preparing your workspace, mastering essential techniques, and following safety and maintenance guidelines, you can confidently tackle any woodworking or DIY project requiring sanding with a belt sander.
Whether you are refinishing a floor, restoring furniture, or preparing a large panel, “sanding with a belt sander” is an essential skill that enhances the quality and speed of your projects. Take your time to practice, experiment with grits, and refine your control to achieve exceptional finishes that reflect your craftsmanship.
Also Read : Exploring the Power of Prostavive Colibrim for Prostate Wellness